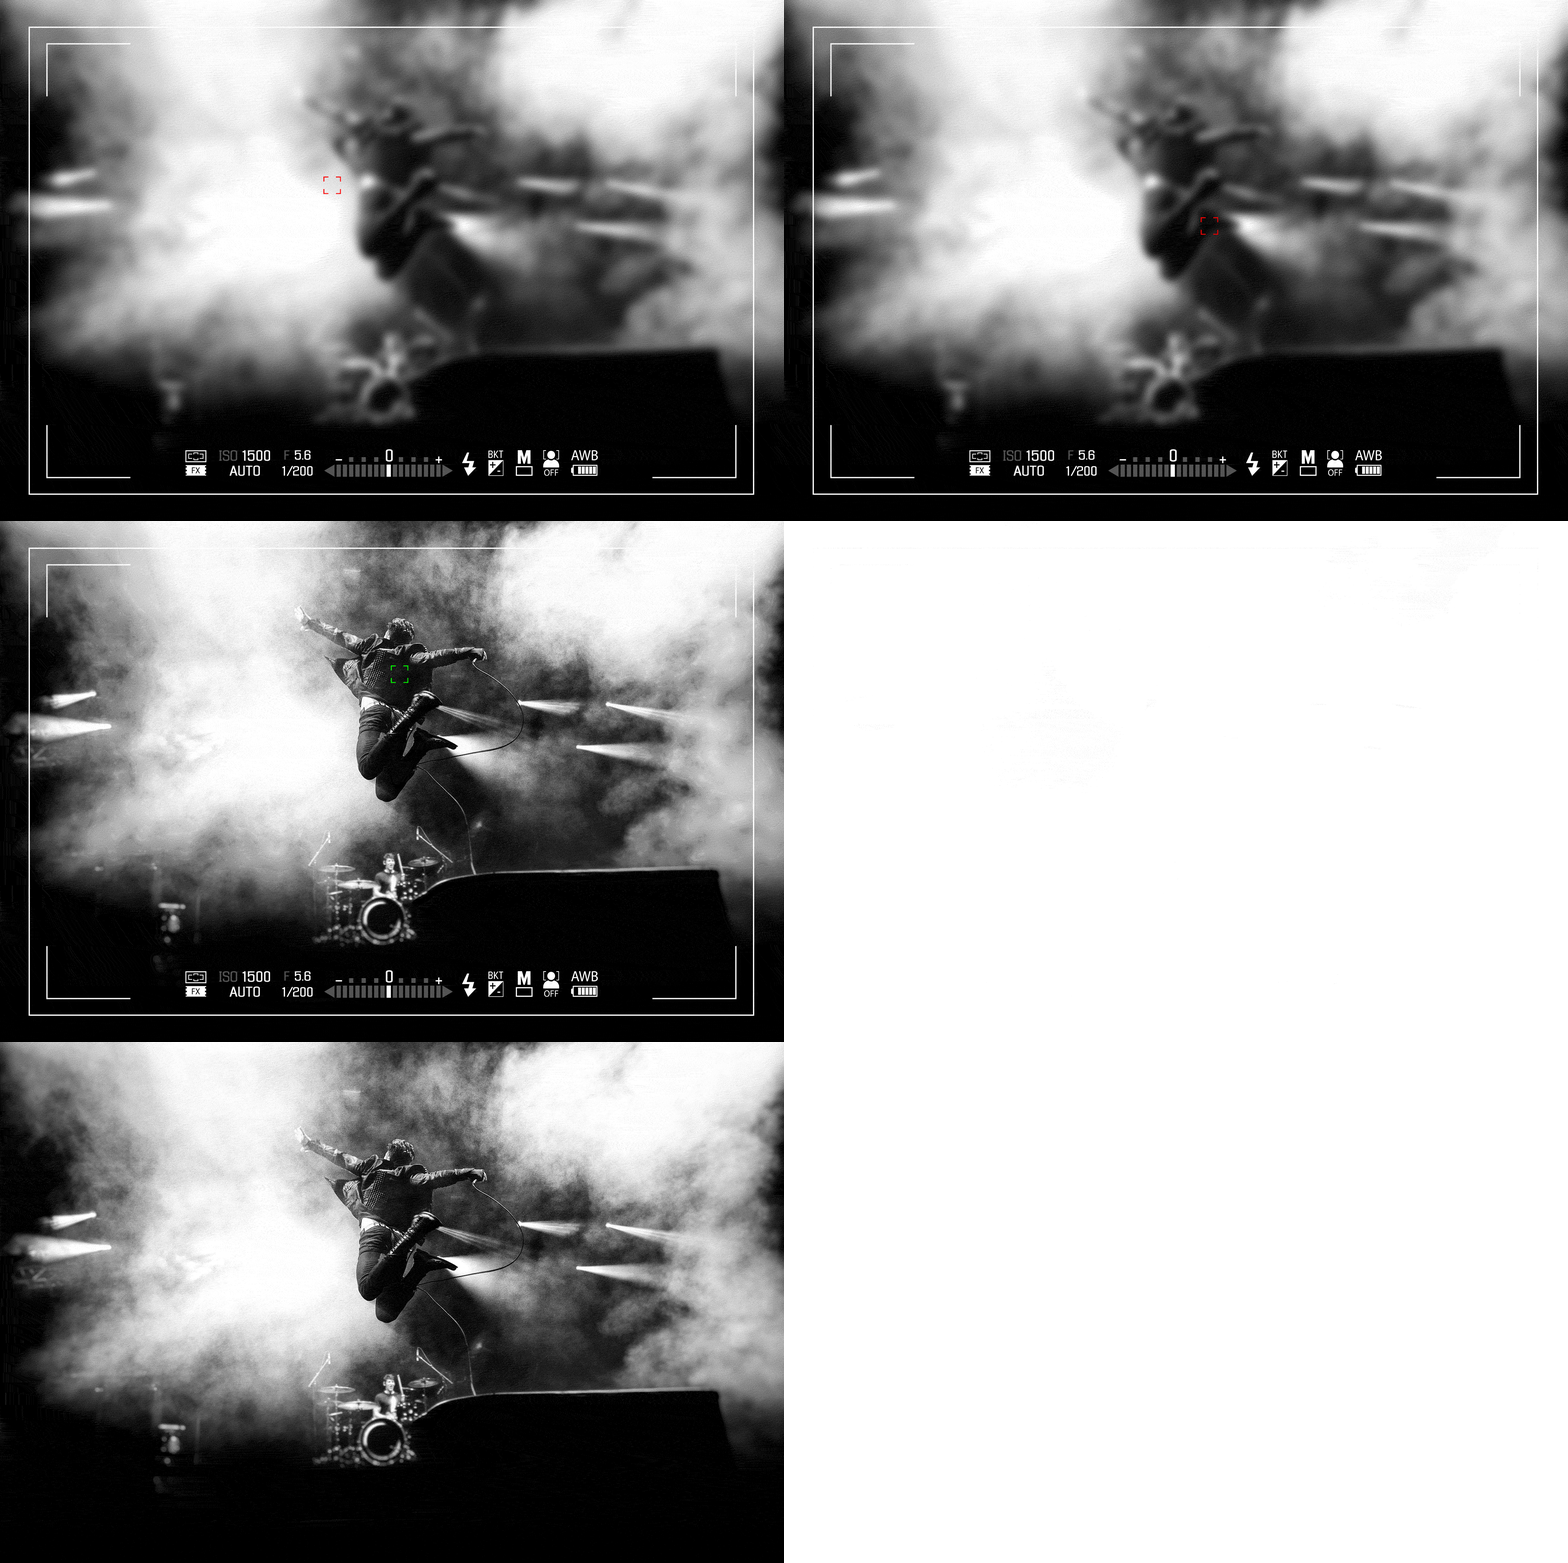
How to become a Music Photographer
Big stages, media escorts, photo passes, and huge backpacks full of gear aside... becoming a music photographer might be easier than you think. However, before you decide to be the next big photographer and capture your favourite chart-topping artists, you’ll need to develop and/or refine your skills. Use these tips to help get you started and remember that practice makes perfect.
1. Start small
It’s not always exciting to think about photographing small local shows, but think of it as your training ground. Starting small will challenge you in all the right ways and give you time to practice and hone your craft. There’s usually no photo pit, but you can use that to your advantage to move around the crowd and get alternate angles. A lot of times you get to photograph more than three songs and best yet, you get to stay and watch the whole show. At bigger shows, you’ll always have to abide by the First Three, No Flash Rule*, get escorted in and out of the photo pit by a media rep and rarely get to stay and watch the show (buzz kill). To top it all off, sometimes you’re forced to shoot from the soundboard (which require crazy expensive long lenses) or you have a dedicated area you can shoot from, which is never that great.
A big downside to small venues is the lighting. Usually, these shows have terrible lighting (sometimes none at all), which makes every photo a challenge. But once you learn to overcome low light and fight your way through a crowd, you’ll be one step closer to being able to handle the world of big arenas, intense light shows, and capturing your favourite artist.
*If you don’t know, now you know! You typically only have the first three songs to shoot and then you must put away your camera. Defying the rules can get you banned from being able to shoot again and in general promoters get a bad taste in their mouth from you. Also, 99% of the time you are not allowed to use any form of flash.
2. Master your settings
Whether you’re at a small club or a massive open-air stadium, you’re going to need to know your camera settings inside and out. As a beginner, your go-to may be setting your camera mode to one of the automatic modes like Program, Shutter priority or Aperture priority. After you start shooting concerts more regularly you’ll begin to notice that your shots aren’t consistent from one to the next and one may be really good while the next may be terrible. The more you dial in your own settings based on the environment you’re in, the more consistently good shots you’ll be taking. That leads us right into a few quick tips to get you started with camera settings:
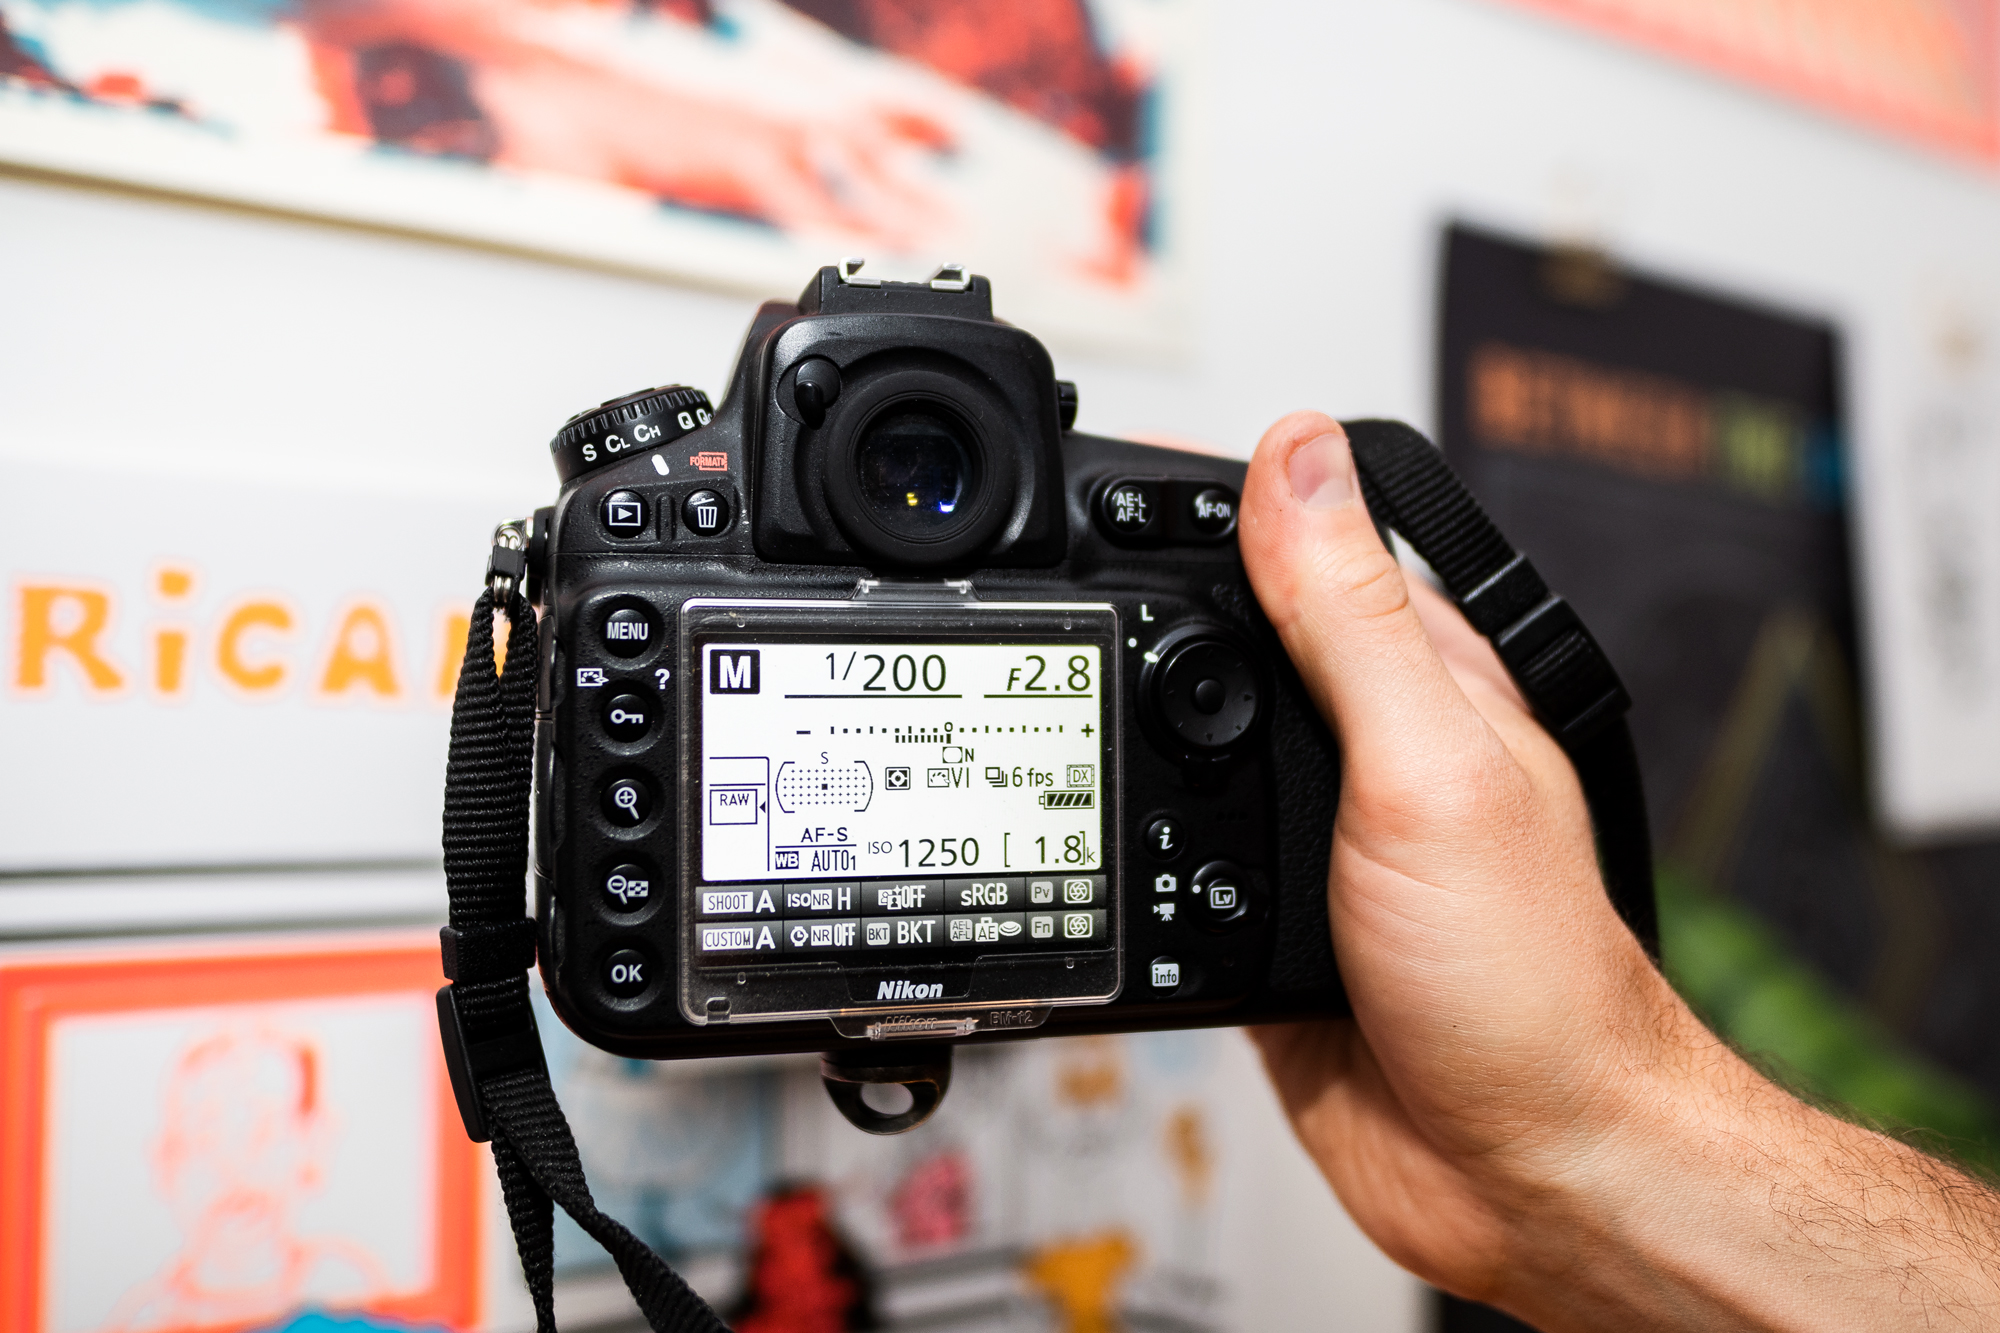
Shoot in Manual Mode
Slide that dial on your camera over to the ‘M’. This will allow you to choose and set your own shutter speed and aperture. You’ll most likely want to use the smallest number for the aperture (which means your lens opens really big and lets a lot of light in). Your shutter speed will depend on how much movement is happening on stage, along with how much light so play around with it.
Shoot RAW
The instant gratification and ease of shooting JPG images can be appealing, but when you process your own images you can bring back images from the dead. Images that were almost completely black can be seen magically with use of a few Lightroom sliders. It also really helps when you start to craft your own editing style. Don’t let the camera choose for you, you’ve got all the power when you choose RAW.
Auto White Balance
Ditch what you learned in photography 101, there’s no time to play around with a custom white balance in the pit. Your three songs can go by faster than you think, especially when security counts an intro interlude as a song (fml). Do yourself a favour, set it to auto and thank me later. You can always adjust your white balance in post and tweak your photos any little way your heart desires.
Crank your ISO (within reason)
Cameras these days can comfortably go beyond 3200 ISO and still result in crisp (somewhat noise-free) images. ISO is your friend in music photography. Don’t be scared to crank it up and ensure that you can achieve the shutter speed and aperture settings you require. I will typically start at 1600 and go from there.
3. Create a workflow
There’s a high that comes along with shooting shows—the adrenaline that pumps through your veins running about in the pit trying to get the best shots you can. It’s even better when you know you’ve got something good and can’t wait to get back to your computer to transfer all your files and see the outcome. With hundreds, or sometimes thousands of photos per show, that high can quickly turn on you and turn into a nightmare without an efficient workflow.
Here’s what you need to know. Always save your RAW files and leave a version of them unedited. Use a program like Adobe Bridge to quickly scan through a folder containing your RAW’s and make selects. Copy those selects over to their own folder. Edit those selects. Save out final JPGs for the web (unless they’re going somewhere else) and BOOM! You’re done.
And remember, with those saved unedited RAW files, you can always go back years in the future and make new (possibly better) edits.
4. Define your style
We live in an Instagram era where you’re constantly battling with fellow photographers around the world. It’s more important than ever for your photos to represent you and your style. Here are a few pointers on how you can start defining your style:
Shooting style
Look to shoot through objects or use the heads of fans to create a window for your subject. Think about how you can use the space given to you to make an original image. Maybe you want to take super wide fisheye photos from low vantage points or perfectly capture extreme close-ups of artists with serious detail. At the end of the day, you just need to follow a path that you set for yourself. How you frame and compose your shot will be the foundation for creating a unique and creative image.
Editing style
Once you’ve captured your image, half the battle is done. Now it’s all about finessing your image and making any edits you like. A ton of photographers in recent years have developed Photoshop or Lightroom actions that you can buy but I strongly advise not going down that path. If you buy another photographer’s actions to batch edit your photos, you’re simply making your photos look like theirs. Unless you’re using their actions as a base for your own editing, I recommend mastering Lightroom and Photoshop and creating your own actions and tweaks that you’d like to bring into your photos. There’s some great plug-in’s you can get that can get you started exploring the editing world like DXO’s Nik Collection or the uber-popular VSCO, which unfortunately requires a membership now. Editing should be about playing, explore and have fun with settings and adjustments. Be warned though, you can go too far with editing. Ensure you’re adjustments are making the image better and not just throwing effects on for the hell of it.
5. Become a contributor
The key to success in all aspects of music photography is the access you have as a photographer. You can only get better if you’re shooting, and to be shooting you need to get media approval. To do this, you need to be shooting for something (an online or print publication).
Do some research and find your favourite music media sites or magazines. Which ones stand out to you? Which ones are creating the kind of content that you like and would like to create yourself? Pick your favourites and start networking. All music media publications, whether online or print have an editor and usually a photo editor. Do some digging, find out who you need to get in contact with and ask them to be a part of their photography roster. Make sure you send them a portfolio or samples of your work (the work your most proud of). You’ll always get some no’s but if you get a yes, that’s a HUGE WIN! At the end of the day, your career or hobby as a music photographer doesn’t entirely ride on you getting into a publication. You can also reach out directly to the artist’s management or simply create your own publication like I did.
These tips will most definitely help you as you get started but trust me... it doesn’t end here. You never stop learning, so the best thing you can do is get out there and shoot as many concerts as you can. If you can’t get media access, remember the first tip in this article… Start Small. You can always get into small shows even if you buy a ticket and bring your camera. The only thing stopping you is you. Get out there and hopefully, I’ll see you in the pit \m/!


