
Trivium
Photography by: Steve St. Jean

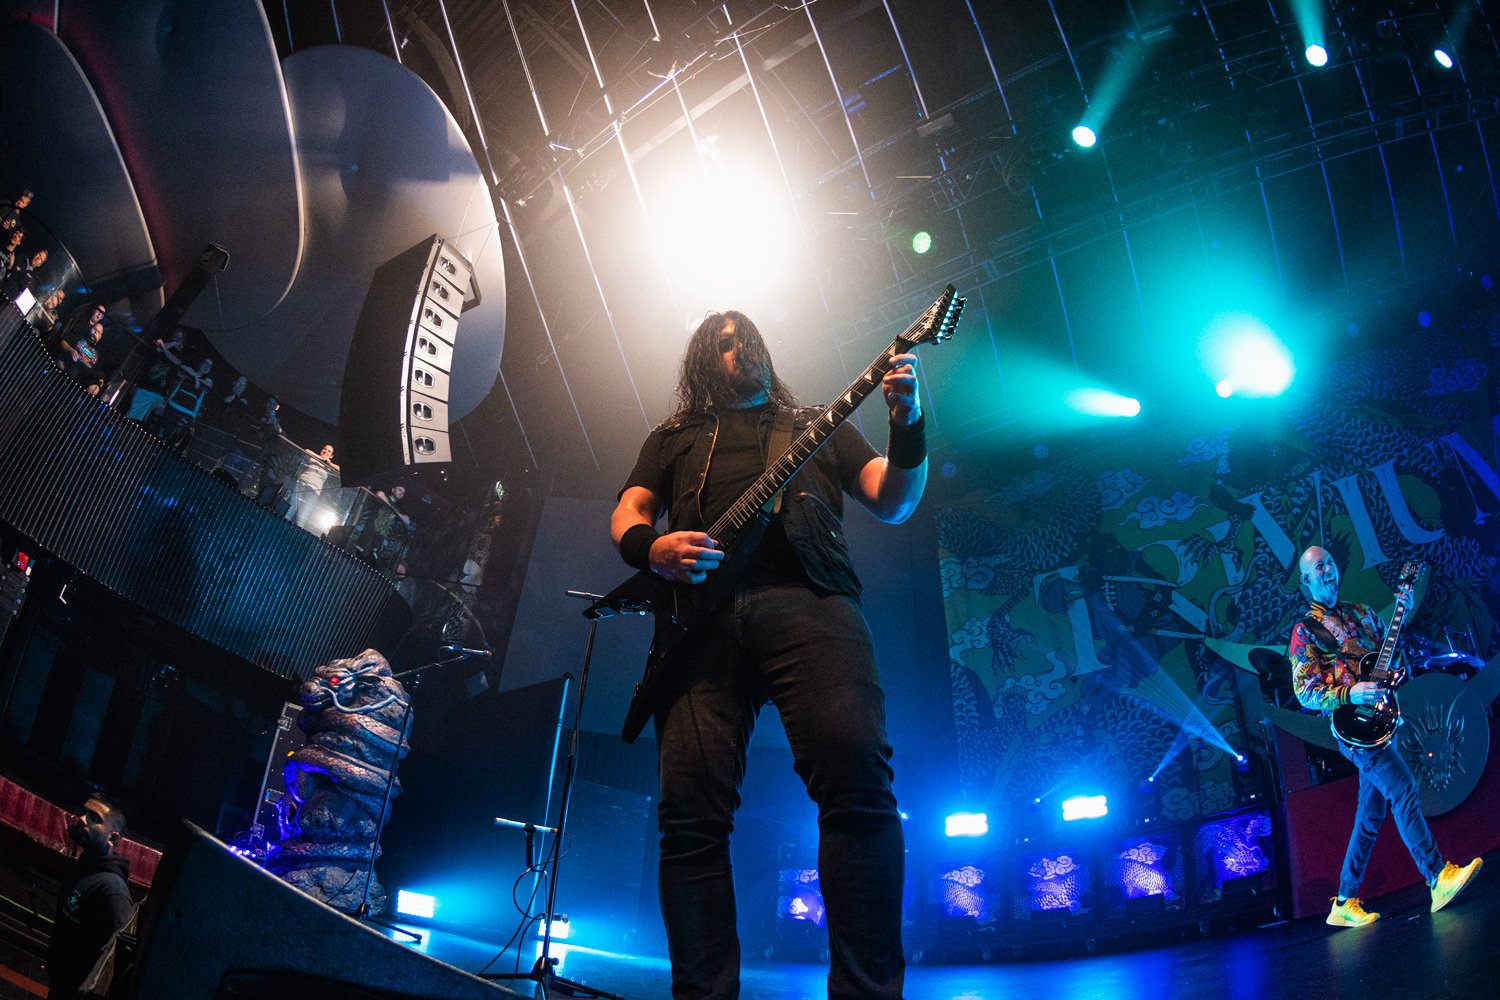
Trivium at Rebel
©Beyond The Watch. All Rights Reserved. Do not use photography without permission.

Trivium at Rebel
©Beyond The Watch. All Rights Reserved. Do not use photography without permission.

Trivium at Rebel
©Beyond The Watch. All Rights Reserved. Do not use photography without permission.

Trivium at Rebel
©Beyond The Watch. All Rights Reserved. Do not use photography without permission.

Trivium at Rebel
©Beyond The Watch. All Rights Reserved. Do not use photography without permission.

Trivium at Rebel
©Beyond The Watch. All Rights Reserved. Do not use photography without permission.
Trivium at Rebel
©Beyond The Watch. All Rights Reserved. Do not use photography without permission.

Trivium at Rebel
©Beyond The Watch. All Rights Reserved. Do not use photography without permission.

Trivium at Rebel
©Beyond The Watch. All Rights Reserved. Do not use photography without permission.

Trivium at Rebel
©Beyond The Watch. All Rights Reserved. Do not use photography without permission.

Trivium at Rebel
©Beyond The Watch. All Rights Reserved. Do not use photography without permission.

Trivium at Rebel
©Beyond The Watch. All Rights Reserved. Do not use photography without permission.

Trivium at Rebel
©Beyond The Watch. All Rights Reserved. Do not use photography without permission.

Trivium at Rebel
©Beyond The Watch. All Rights Reserved. Do not use photography without permission.

Trivium at Rebel
©Beyond The Watch. All Rights Reserved. Do not use photography without permission.